
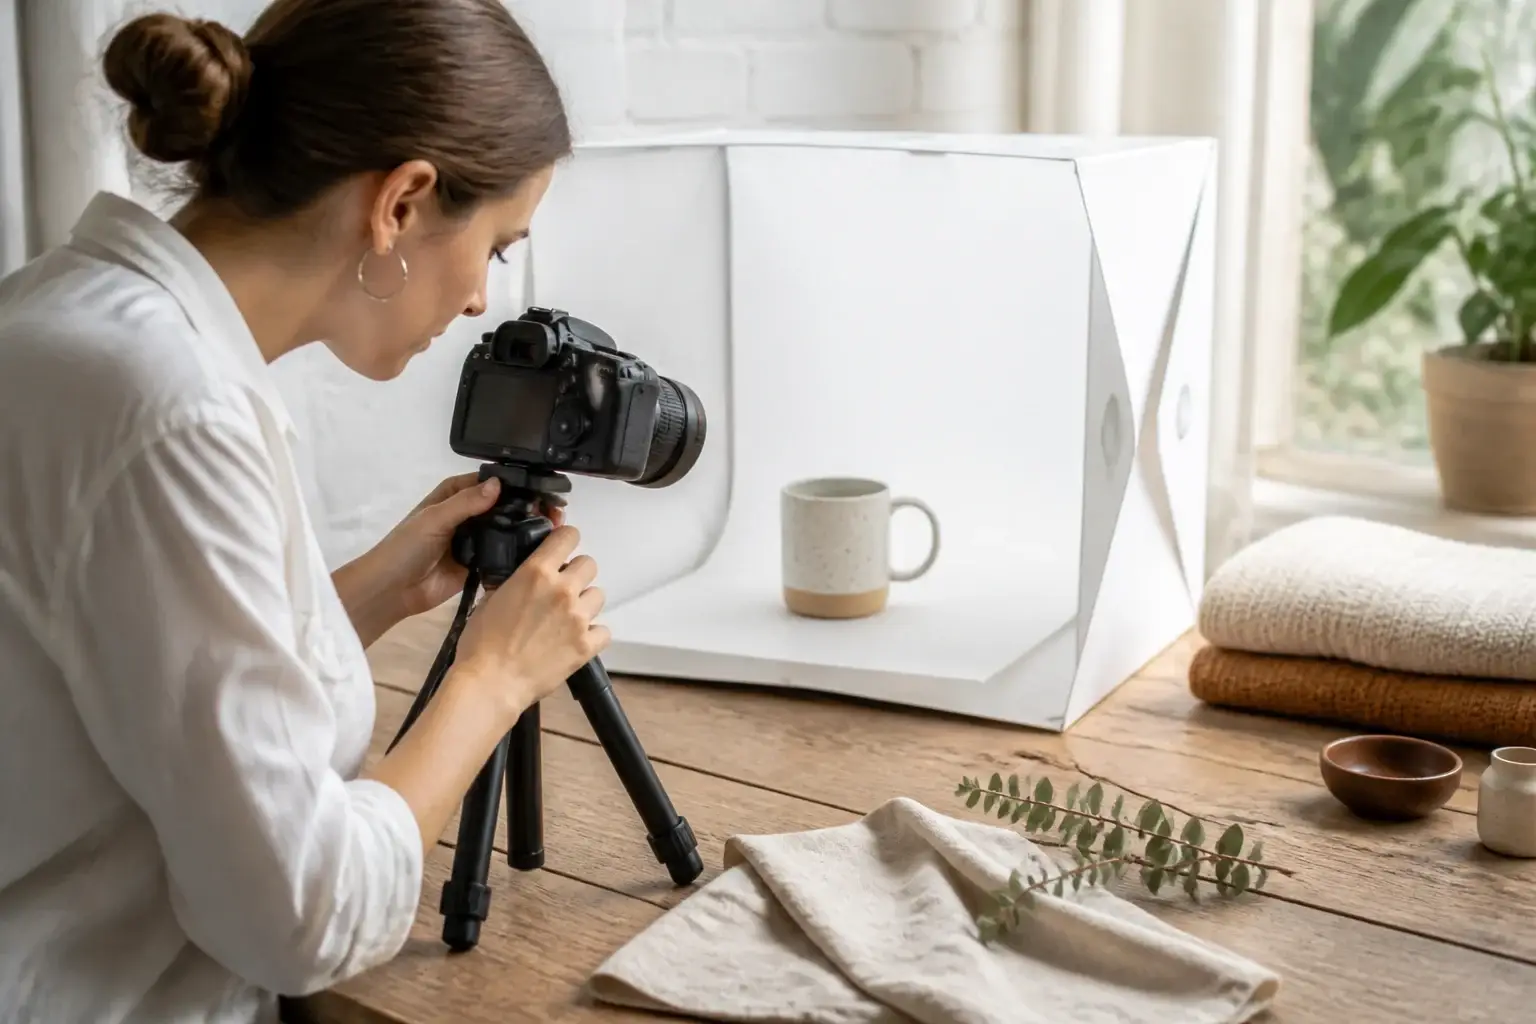
Etsy shoppers cannot touch, hold, or examine your product in person, so photographs must answer their questions before they hesitate. Better listing photos do not require an expensive camera or a professional studio. They require clean light, thoughtful styling, accurate color, useful angles, and a repeatable process. Your goal is to show what the item is, how large it is, how it works, and why it deserves attention without making the product look misleading.
This beginner-friendly guide explains how to plan, shoot, edit, and organize Etsy listing photos. Follow the steps in order, then review your images as a shopper would. A strong photo set can make your shop appear more trustworthy, reduce avoidable questions, and help the right customer recognize your product immediately.
Start with the shopper’s questions
Before taking pictures, write down the information a buyer needs. Consider size, materials, texture, color, shape, included components, packaging, and intended use. If the item has a closure, hinge, clasp, adjustable feature, or customizable detail, plan an image that demonstrates it. If a measurement matters, show a ruler or provide a separate measurement graphic, while keeping the product itself clearly visible.
Think beyond appearance. A beautiful front-facing image may attract a click, but additional images should remove uncertainty. Jewelry buyers may need to see scale on a person. Clothing shoppers may need front, back, side, and fabric details. Home-decor customers may want an object shown in a realistic room. A digital product may need screenshots that explain what files or pages are included.
Create a simple shot list before arranging your setup:

- A clear primary image showing the complete item.
- A second angle that reveals depth or construction.
- A close-up showing texture, workmanship, or finish.
- A scale image using a familiar object, hand, model, or measurement tool.
- A lifestyle image showing the item in its intended setting.
- An image explaining options, personalization, packaging, or contents.
You may not need all six for every product, but this list prevents accidental gaps. Do not use several nearly identical angles merely to fill space. Each photograph should answer a different question.
Choose a simple shooting environment
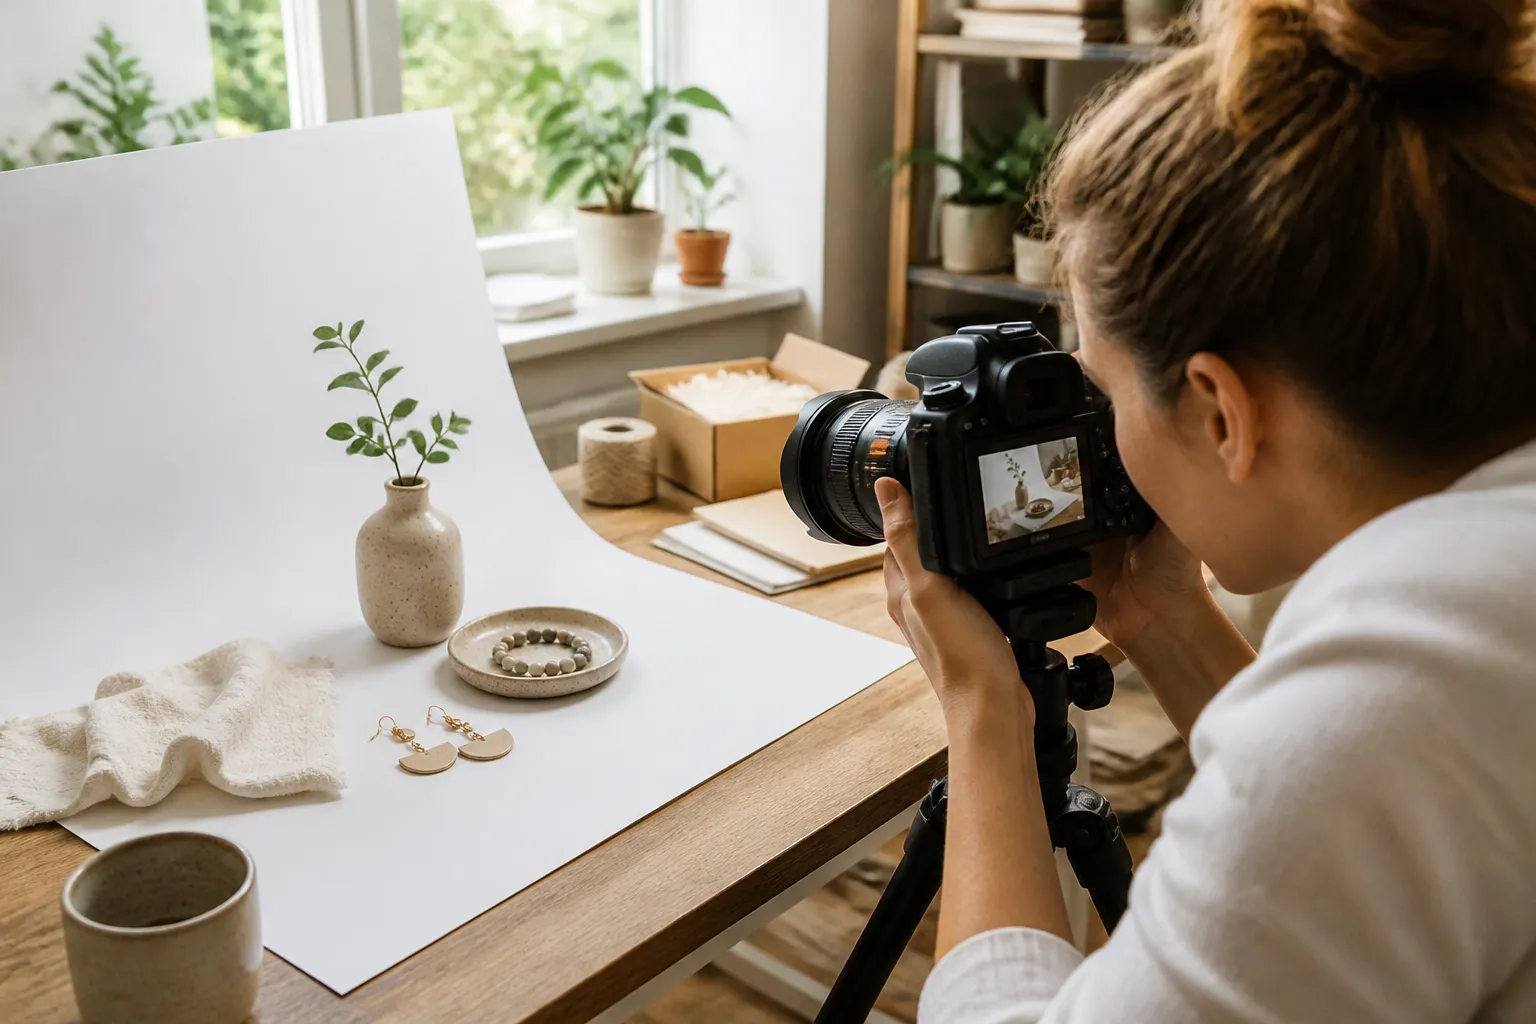
A controlled environment makes improvement easier. Use a clean table near a large window, preferably where direct sunlight does not fall harshly across the product. Direct sun can create bright highlights and deep shadows, while indirect daylight usually produces softer, more forgiving illumination. Turn off mixed artificial lights if they create yellow, green, or blue color shifts.
A white wall, foam board, poster board, or plain fabric can serve as a background. Choose a surface that supports the product without competing with it. White is useful for many items, but not mandatory. A muted neutral background can provide stronger separation for white products. Dark items may benefit from a pale background, while pale items need enough contrast to show their edges.
Keep the area tidy, but do not confuse minimalism with emptiness. A lifestyle scene can include relevant props, such as a book beside a bookmark or a desk beside a planner. Props should establish scale or context, not steal attention. Avoid recognizable brands, clutter, stains, distracting patterns, and objects that make a buyer wonder whether they are included.
Use a tripod or stable support whenever possible. A phone held by hand can work, but slight movement may soften details, especially indoors. If you lack a tripod, place the phone against books or use a stable shelf. Set a timer so pressing the shutter does not shake the device.
Control the background
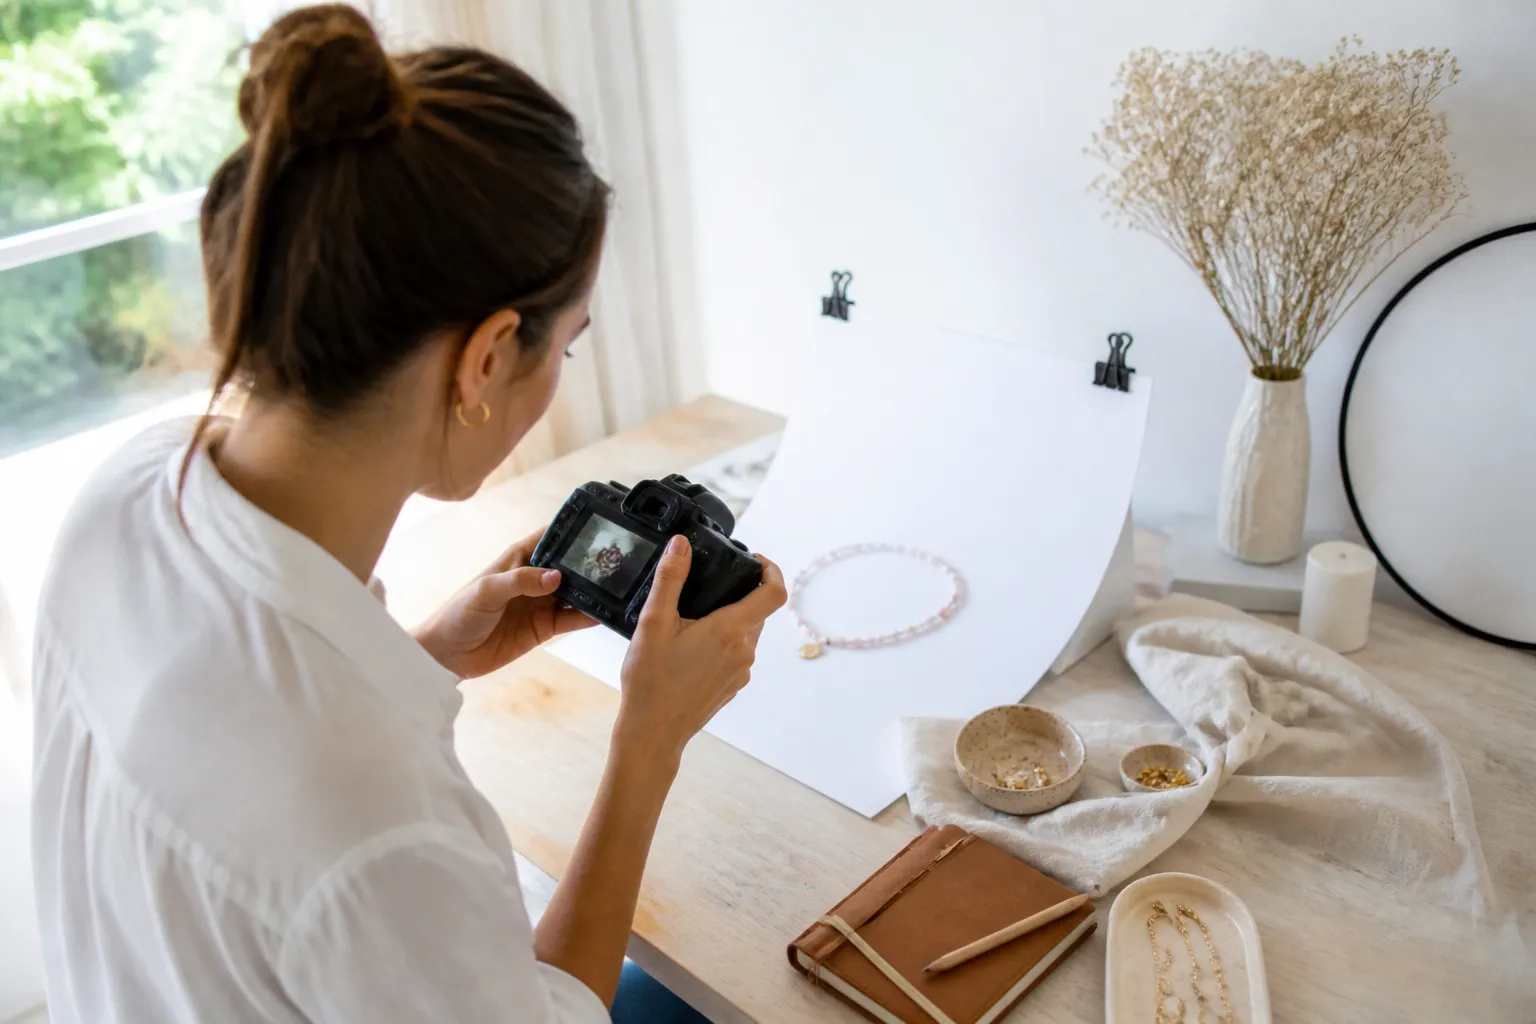
Tape paper or fabric to a wall and let it curve gently onto the table. This creates a continuous background without a hard corner line. Steam fabric first, remove lint, and inspect the surface through the camera. Small wrinkles may become surprisingly obvious after cropping.
Leave enough surrounding space to crop the photograph without cutting off important edges. Keep the product centered or intentionally positioned according to the composition you want, but never let it sit so close to the frame that details disappear.
Use light to reveal the product
Place the product beside, rather than directly in front of, a window. Side light can reveal shape and texture. If one side becomes too dark, place a white board opposite the window to bounce light back onto the shadowed area. This inexpensive reflector often produces a more balanced image than adding another lamp.
Watch the brightest parts of the product. Glossy ceramics, metal, glass, and coated paper can reflect the window or your own silhouette. Move the item, camera, or light source slightly until reflections become controlled. A large, soft reflection usually looks better than several small bright spots.
Check the screen for detail in both highlights and shadows. If white areas look completely blank or dark areas look solid black, adjust before taking the full set. Move the product farther from the window, soften the light with a sheer curtain, or change the angle. Avoid placing thin paper, heat-sensitive materials, or fragile objects where direct sunlight could damage them.
Lock focus and exposure when your phone allows it. Tap the product’s important area, then reduce or increase brightness carefully. Automatic exposure may prioritize a pale background and leave a dark product underexposed, or prioritize a dark object and make a light background disappear. The product, not the background, deserves the correct exposure.
Prepare the product before shooting
Photography cannot conceal every preparation problem. Clean fingerprints from glossy surfaces, remove loose fibers, trim threads, polish appropriate metals, and make sure components are attached correctly. Steam or press fabric, smooth labels, and refill containers if the design requires a full appearance. Do not alter the item in a way that misrepresents what the customer will receive.
Inspect the product from the camera’s position. A minor scratch that is invisible from above may be obvious from the front. Conversely, a texture that feels rich in person may disappear in a distant photograph. Take a test image, enlarge it, and decide whether the current distance communicates the feature.
For handmade items, small variations can be meaningful. Photograph craftsmanship honestly rather than using excessive blur or filters to hide it. If natural variation is part of the product, explain it in the listing and show enough detail for the buyer to understand what is typical.
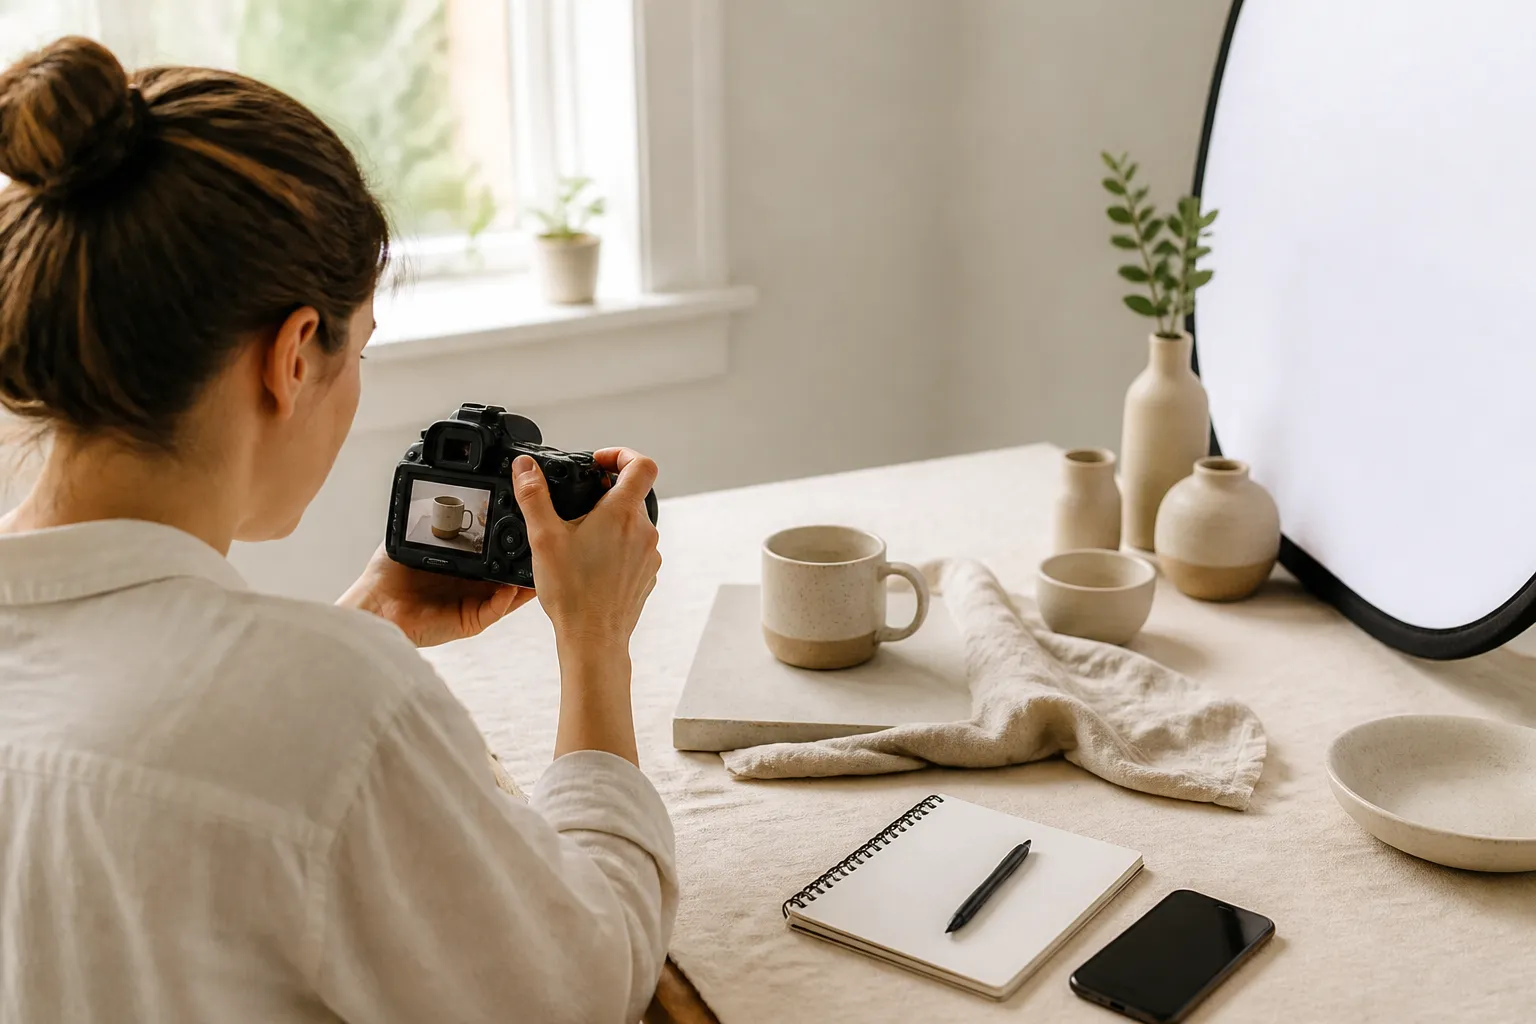
Arrange collections consistently. If you photograph several color options, keep the camera height, background, and lighting similar. Consistency helps shoppers compare choices without wondering whether differences are caused by the products or the photographs.
Compose the primary image
Your primary image has one job: communicate the product quickly and clearly. Show the actual item offered, in focus, with enough space around it to remain recognizable in a small thumbnail. Avoid beginning with an elaborate scene in which the item is partially hidden. A decorative setting can be useful later, but the first view should reduce confusion.
Try a straight-on angle for flat products and a slightly elevated angle for dimensional objects. Keep vertical lines vertical when possible. Tilting a phone can make boxes, frames, shelves, and packaging appear distorted. Use the camera’s grid to align edges and place the subject deliberately.
Take several versions while changing only one factor at a time: distance, angle, background, or product position. Compare them at thumbnail size, not only full-screen size. The strongest image is often the one with the clearest silhouette rather than the most dramatic arrangement.
Do not rely on camera zoom that reduces quality. Move the phone physically when practical. Clean the lens with a soft cloth before shooting; fingerprints create haze and lower contrast. Use the highest practical image quality your device provides, while remembering that a very large file may take longer to upload.
Create a useful angle sequence
Begin with the complete product. Follow with views that show its sides, back, underside, interior, or working mechanism. Photograph details close enough to display craftsmanship, but not so close that shoppers lose context. If a close-up reveals a texture, pair it with a wider image showing where that texture appears.
For wearable products, combine a flat or hanger image with a model or scale view when appropriate. A model image can show proportion and drape, but it should not replace measurements. For small objects, a hand can communicate scale, although hand size varies. A ruler or dimensions graphic provides more dependable information.
Show scale and function honestly
Size is one of the most common sources of buyer uncertainty. A product photographed alone against empty space can look larger or smaller than it is. Add a scale image using measurements, a familiar object, or an appropriate human context. Make sure the comparison object is not misleading. A tiny item beside a close camera crop may appear oversized.
If the product opens, folds, hangs, lights, pours, or adjusts, demonstrate that function. Photograph the relevant position clearly. For an item with multiple pieces, show the complete contents together, then provide a closer view of individual components. If accessories are optional, label that distinction in the image or listing so shoppers do not assume they are included.

Personalized products require especially clear examples. Show a sample name or design while explaining what can be changed. Make sure the example does not imply unlimited colors, fonts, sizes, or layouts unless those choices are genuinely available. Photograph the blank or base product as well when that helps clarify the finished result.
Packaging can reassure buyers about presentation and gifting, but it should not dominate the listing unless packaging is a major part of the purchase. Show the item first, then include a packaging image that accurately reflects what is shipped. Do not photograph temporary decorations, handwritten notes, or premium materials that are not included.
Photograph color and texture accurately
Color is affected by light source, camera processing, surrounding surfaces, and editing. Use one consistent light source for the set. If your phone offers a way to lock white balance, use it consistently; otherwise, compare the screen with the actual product and adjust the environment rather than aggressively changing the file afterward.
Avoid filters that make colors more dramatic. A product that appears red in the photograph but arrives burgundy may disappoint a buyer even if the camera image looked attractive. Include a written color description and acknowledge that screens can display colors differently when that limitation matters.
Texture needs directional light and proximity. Knitted fibers, wood grain, brush marks, embossed paper, and stone surfaces often appear more dimensional when light arrives from the side. Extremely flat frontal light may erase texture, while harsh light can exaggerate every irregularity. Take test images from several angles and choose the one that communicates the material naturally.
Transparent and reflective products require patience. Place a large light-colored surface beside the product to create a clean reflection, then adjust the camera angle to avoid seeing yourself. For glass, show the edge and thickness where relevant. For mirrors, plan what reflection the buyer needs to see, and remove distracting surroundings.
Add lifestyle images with purpose
A lifestyle photograph answers, “How might this fit into my life?” Use it to show scale, use, mood, or placement. A mug on a breakfast table, a wall print above furniture, or a bag beside everyday belongings can communicate context more effectively than a catalog-style image.
Keep the item identifiable. Choose props that support the product’s story and use a restrained composition. If the scene becomes visually busy, simplify it. Ask whether every object helps explain size, function, or setting. If not, remove it.
Lifestyle images must remain truthful. Do not photograph a wall print in a room that suggests a frame is included if it is not. Do not show candles burning if the product is decorative only, or place a fragile item in a use situation that is unsafe. Context should inspire an informed purchase, not create an expectation you cannot fulfill.
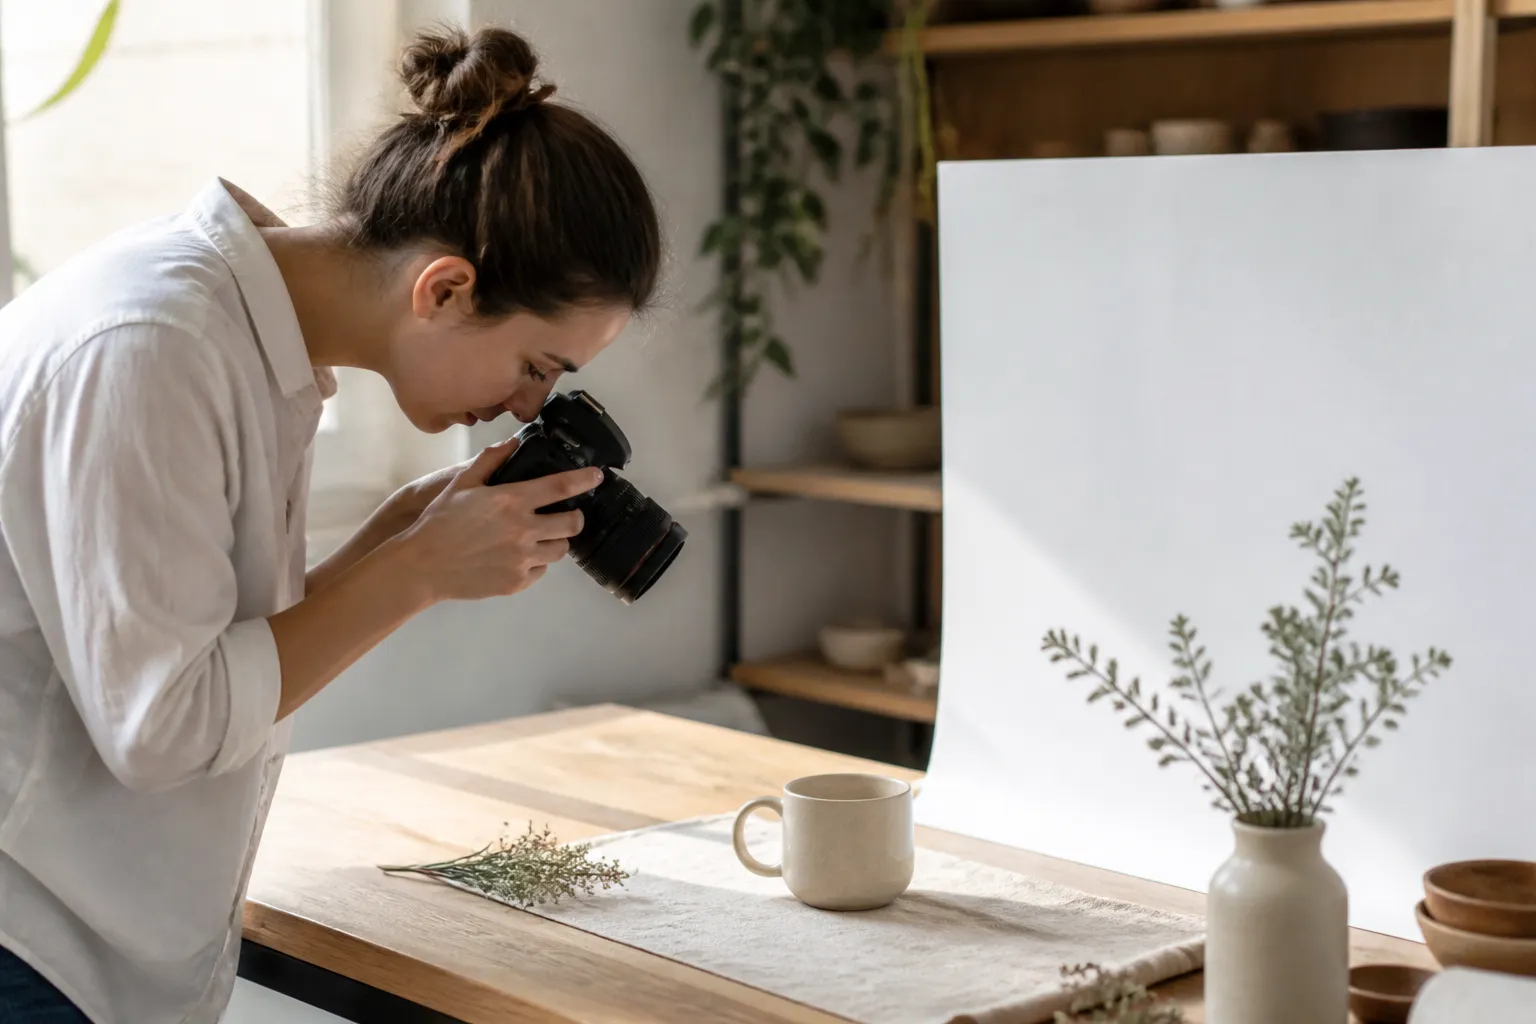
Consider accessibility in visual communication. Do not depend solely on a tiny color difference to explain options. Use clear labels in appropriate graphics and repeat important information in the written listing. Text placed over images should be large enough to read on a phone and should not cover the product.
Edit without hiding the truth
Editing should correct presentation, not change the product. Crop away unnecessary background, straighten lines, balance brightness, and adjust white balance modestly. Reduce distracting shadows only when detail remains realistic. Keep the product’s proportions and color faithful.
Use the same editing approach across the listing. If one image is warm and another is cool, shoppers may interpret the difference as a product variation. A consistent background and tonal treatment make comparison easier. Save an untouched original before editing so you can reverse mistakes.
Be careful with background removal and artificial shadows. Clean cutouts can be useful for certain products, but rough edges, halos, or unnatural shadows reduce trust. If you replace a background, ensure the result does not imply a setting, size, or included object that is unavailable.
Avoid excessive sharpening, saturation, blur, and skin smoothing. Overprocessed images can make materials look plastic and details look artificial. Zoom in after editing to inspect edges, seams, printed text, and small features. Then view the image at normal size to confirm that it still feels natural.
Build a consistent listing photo set
Arrange photos in an information sequence. Lead with the clearest complete view, then explain angles, detail, scale, use, options, and packaging. The exact order can vary, but each image should contribute something new. Put the most important evidence early because some shoppers will not inspect every photograph.
Use repeated framing for related products. If a customer compares three earrings or several candle scents, similar composition makes the differences easier to understand. Keep color names and option labels consistent with the listing text. Never use a photo of one variation to represent another without making the distinction clear.
Create simple information graphics when they genuinely help. A dimensions diagram, care instruction, color chart, or included-items panel can prevent confusion. Use readable typography, strong contrast, and limited text. Graphics should supplement real product photographs, not replace them.
Review the set on a phone. Check whether the primary image remains clear as a small thumbnail, whether text is readable, and whether important details are hidden by cropping. Ask another person what they think the item includes and how large it seems. Their misunderstanding can reveal an image that needs revision.
Common beginner mistakes to avoid
One common mistake is photographing from too far away. Empty space may look elegant, but it reduces useful detail. Move closer while preserving the entire product, then add separate close-ups for important features.
Another mistake is using inconsistent lighting. A window image, a yellow lamp image, and a flash image can make one product appear to have several colors. Select a repeatable setup and shoot the complete set during similar conditions when possible.
Clutter creates another problem. Props, tools, packaging scraps, and strong patterns compete with the item. Before each frame, inspect all four corners of the screen, not only the product’s center.
Many sellers also forget the back, underside, interior, or closure. Shoppers may hesitate when they cannot verify construction. If a view matters to a reasonable buyer, include it or explain why it is not shown.
Finally, avoid misleading scale. Extreme close-ups, wide-angle distortion, or oversized props can create inaccurate expectations. Pair attractive images with precise dimensions and honest context.
A repeatable beginner workflow
Start by cleaning the product and writing your shot list. Prepare the background, reflector, tripod, phone, ruler, props, and any model or mannequin. Check that the camera lens is clean and that the shooting area has stable light.
Take a test frame. Inspect focus, exposure, color, reflections, background, and scale. Make one adjustment at a time, then take the primary image. Photograph the remaining planned views without changing the setup unnecessarily.
After the session, select images by usefulness rather than sentiment. Keep only photographs that are sharp enough, accurate, and meaningfully different. Edit copies, apply consistent corrections, and inspect them both enlarged and at normal viewing size.
Upload the photos in an order that answers questions naturally. Read the listing beside the images and look for contradictions. If the text says “set of three” but the photograph shows one, add a clear image or change the composition. If buyers ask the same question repeatedly, treat that question as evidence that your photos need improvement.
FAQ
What camera is best for Etsy listing photos?
A modern smartphone is usually sufficient for beginners when it is used with clean light, stable support, and careful composition. A dedicated camera can provide additional control, but equipment alone will not fix poor lighting, clutter, inaccurate color, or missing views. Improve the setup before purchasing gear.
Should I use a white background?
Use a background that creates contrast and supports the product. White works well for many items, especially when the edges remain visible, but it is not a rule. Pale products may need a slightly darker neutral surface, while dark products can stand out against a lighter background. Choose clarity over convention.
How many photos should a listing include?
Include enough images to explain appearance, construction, scale, use, options, and packaging when relevant. More is not automatically better. A set of distinct, informative photographs is stronger than many repetitive angles. Review the available Etsy listing settings and current image requirements because platform details can change.
Should I photograph products with flash?
Built-in flash can create harsh shadows, shiny hotspots, and a flat appearance, particularly in small indoor spaces. Try indirect window light first. If you use artificial lighting, diffuse it and keep the color consistent. Test the result on the product’s most reflective or textured area.
How can I show product size?
Use precise dimensions in the listing and reinforce them visually with a ruler, measurement graphic, hand, model, or familiar setting. No comparison is perfect, so combine visual scale with written measurements. Avoid objects whose size varies greatly or whose presence could suggest they are included.
Can I use mockups?
Mockups can help customers visualize digital products or contextual applications, but they must accurately represent what buyers receive. Pair them with screenshots or real previews where appropriate. For physical handmade goods, real photographs generally provide more trustworthy evidence of material, finish, and scale.
Why do my photos look blurry?
Blur may come from camera movement, insufficient light, missed focus, digital zoom, or an overly compressed file. Stabilize the phone, increase available light, tap the product to focus, avoid unnecessary zoom, and inspect the original image before editing. If only the background is sharp, retake the photograph with focus placed on the product.
How do I photograph reflective items?
Use large, soft light sources and move the product or camera until reflections are controlled. Surround the item with clean white or neutral surfaces when appropriate. Wear dark clothing if your reflection appears in the object, and inspect the edges for distracting highlights. Several small adjustments are often more effective than stronger light.
Should every image have text?
No. Text can clarify dimensions, options, or included pieces, but it should not cover the product or become too small to read. Repeat essential information in the listing description. Use photographs for visual evidence and graphics for concise explanations.
What should I do if colors look different on screens?
Use consistent neutral lighting, correct white balance modestly, and avoid strong filters. Describe the color in words and acknowledge ordinary screen variation when relevant. Compare the edited image with the physical item under neutral light before publishing. Accuracy builds more confidence than exaggerated color.
Conclusion
Better Etsy listing photos come from answering buyer questions with deliberate visual evidence. Begin with a clean setup, soft and consistent light, accurate preparation, and a clear shot list. Photograph the complete item first, then show construction, scale, texture, function, options, and packaging as needed. Edit carefully, preserve truthful color and proportions, and review the finished set on a phone.
You do not need perfect equipment to make meaningful progress. Improve one variable at a time, compare the result at thumbnail size, and use repeated customer questions as practical feedback. When photographs make the product easy to understand, shoppers can decide with greater confidence—and your listing does its most important job before a single message is sent.